
PROCESS
PROCESS
PROCESS
PROCESS

PROCESS
PROCESS
PROCESS PROCESS
While I may be free-spirited, there is a method to my madness. Here is my design process:
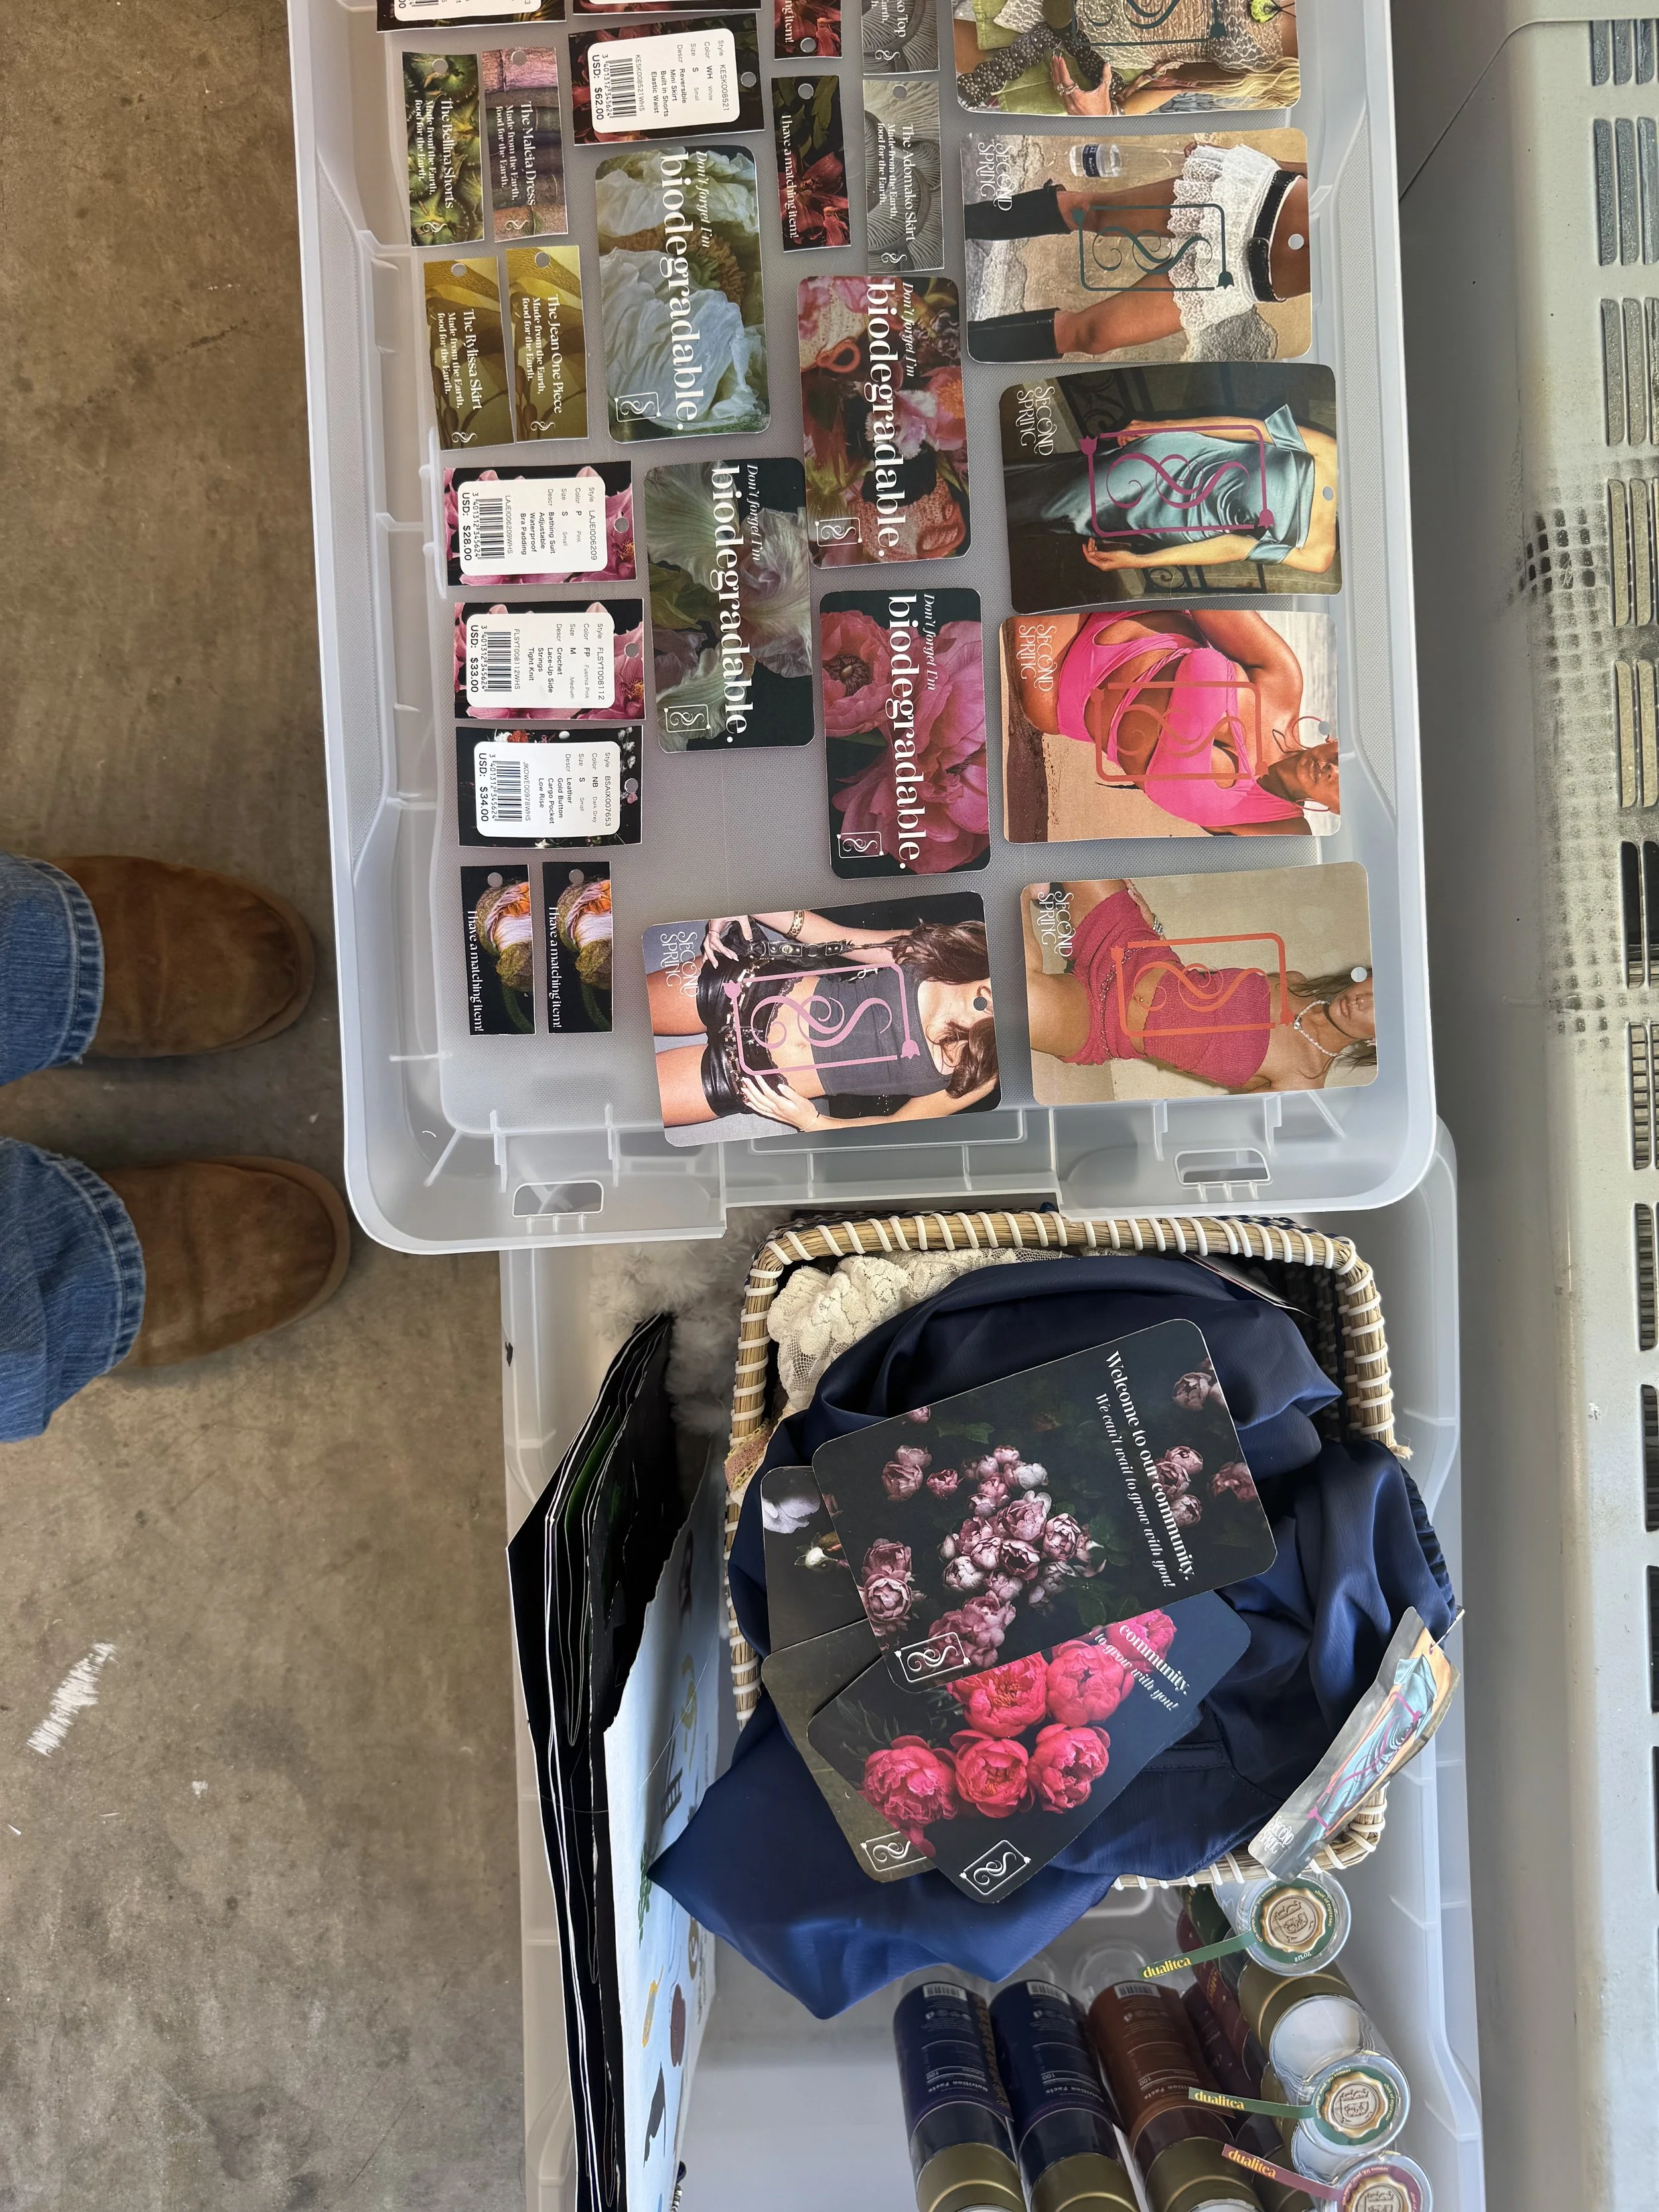
(specifically for my project dualitea)

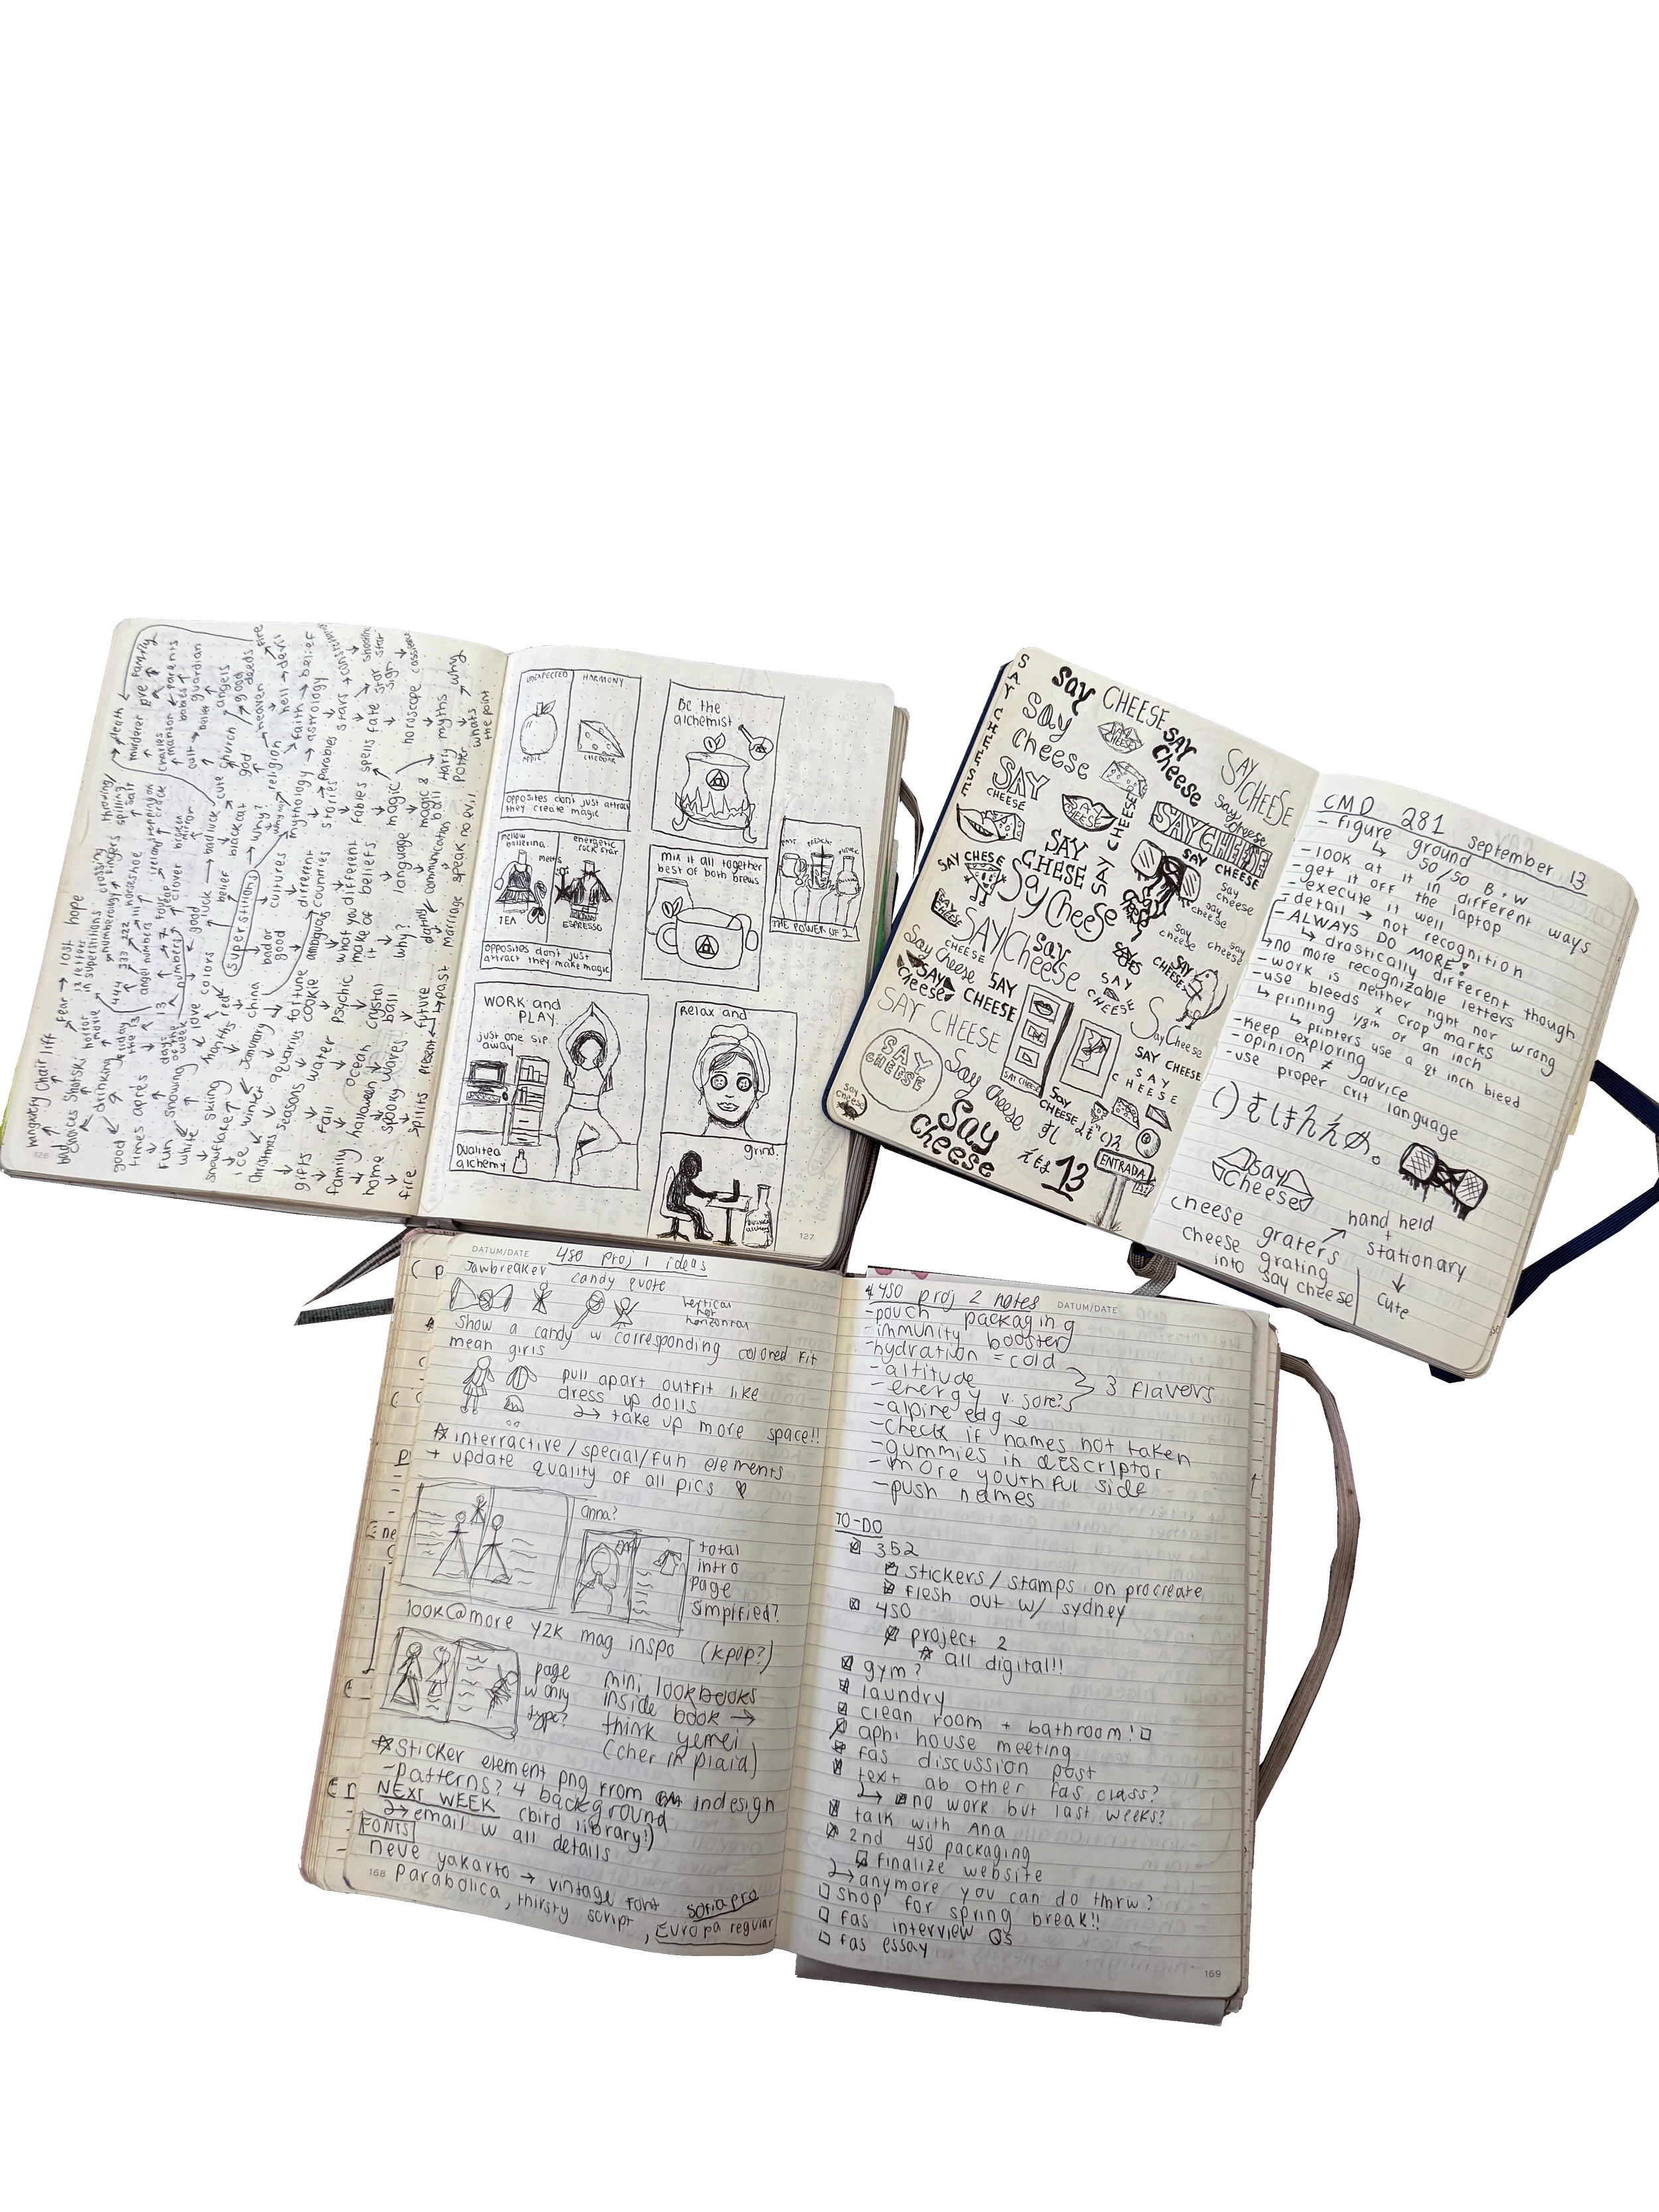
It all begins with my notebook….
My notebooks might as well be a map of my mind. Every six months, I have a notebook with every thought, note, and drawing that comes to me. Along with my beloved Post-it notes, pen collection, headphones, and of course my laptop (which is always plugged in). This is where it all begins.

Step One
Step One
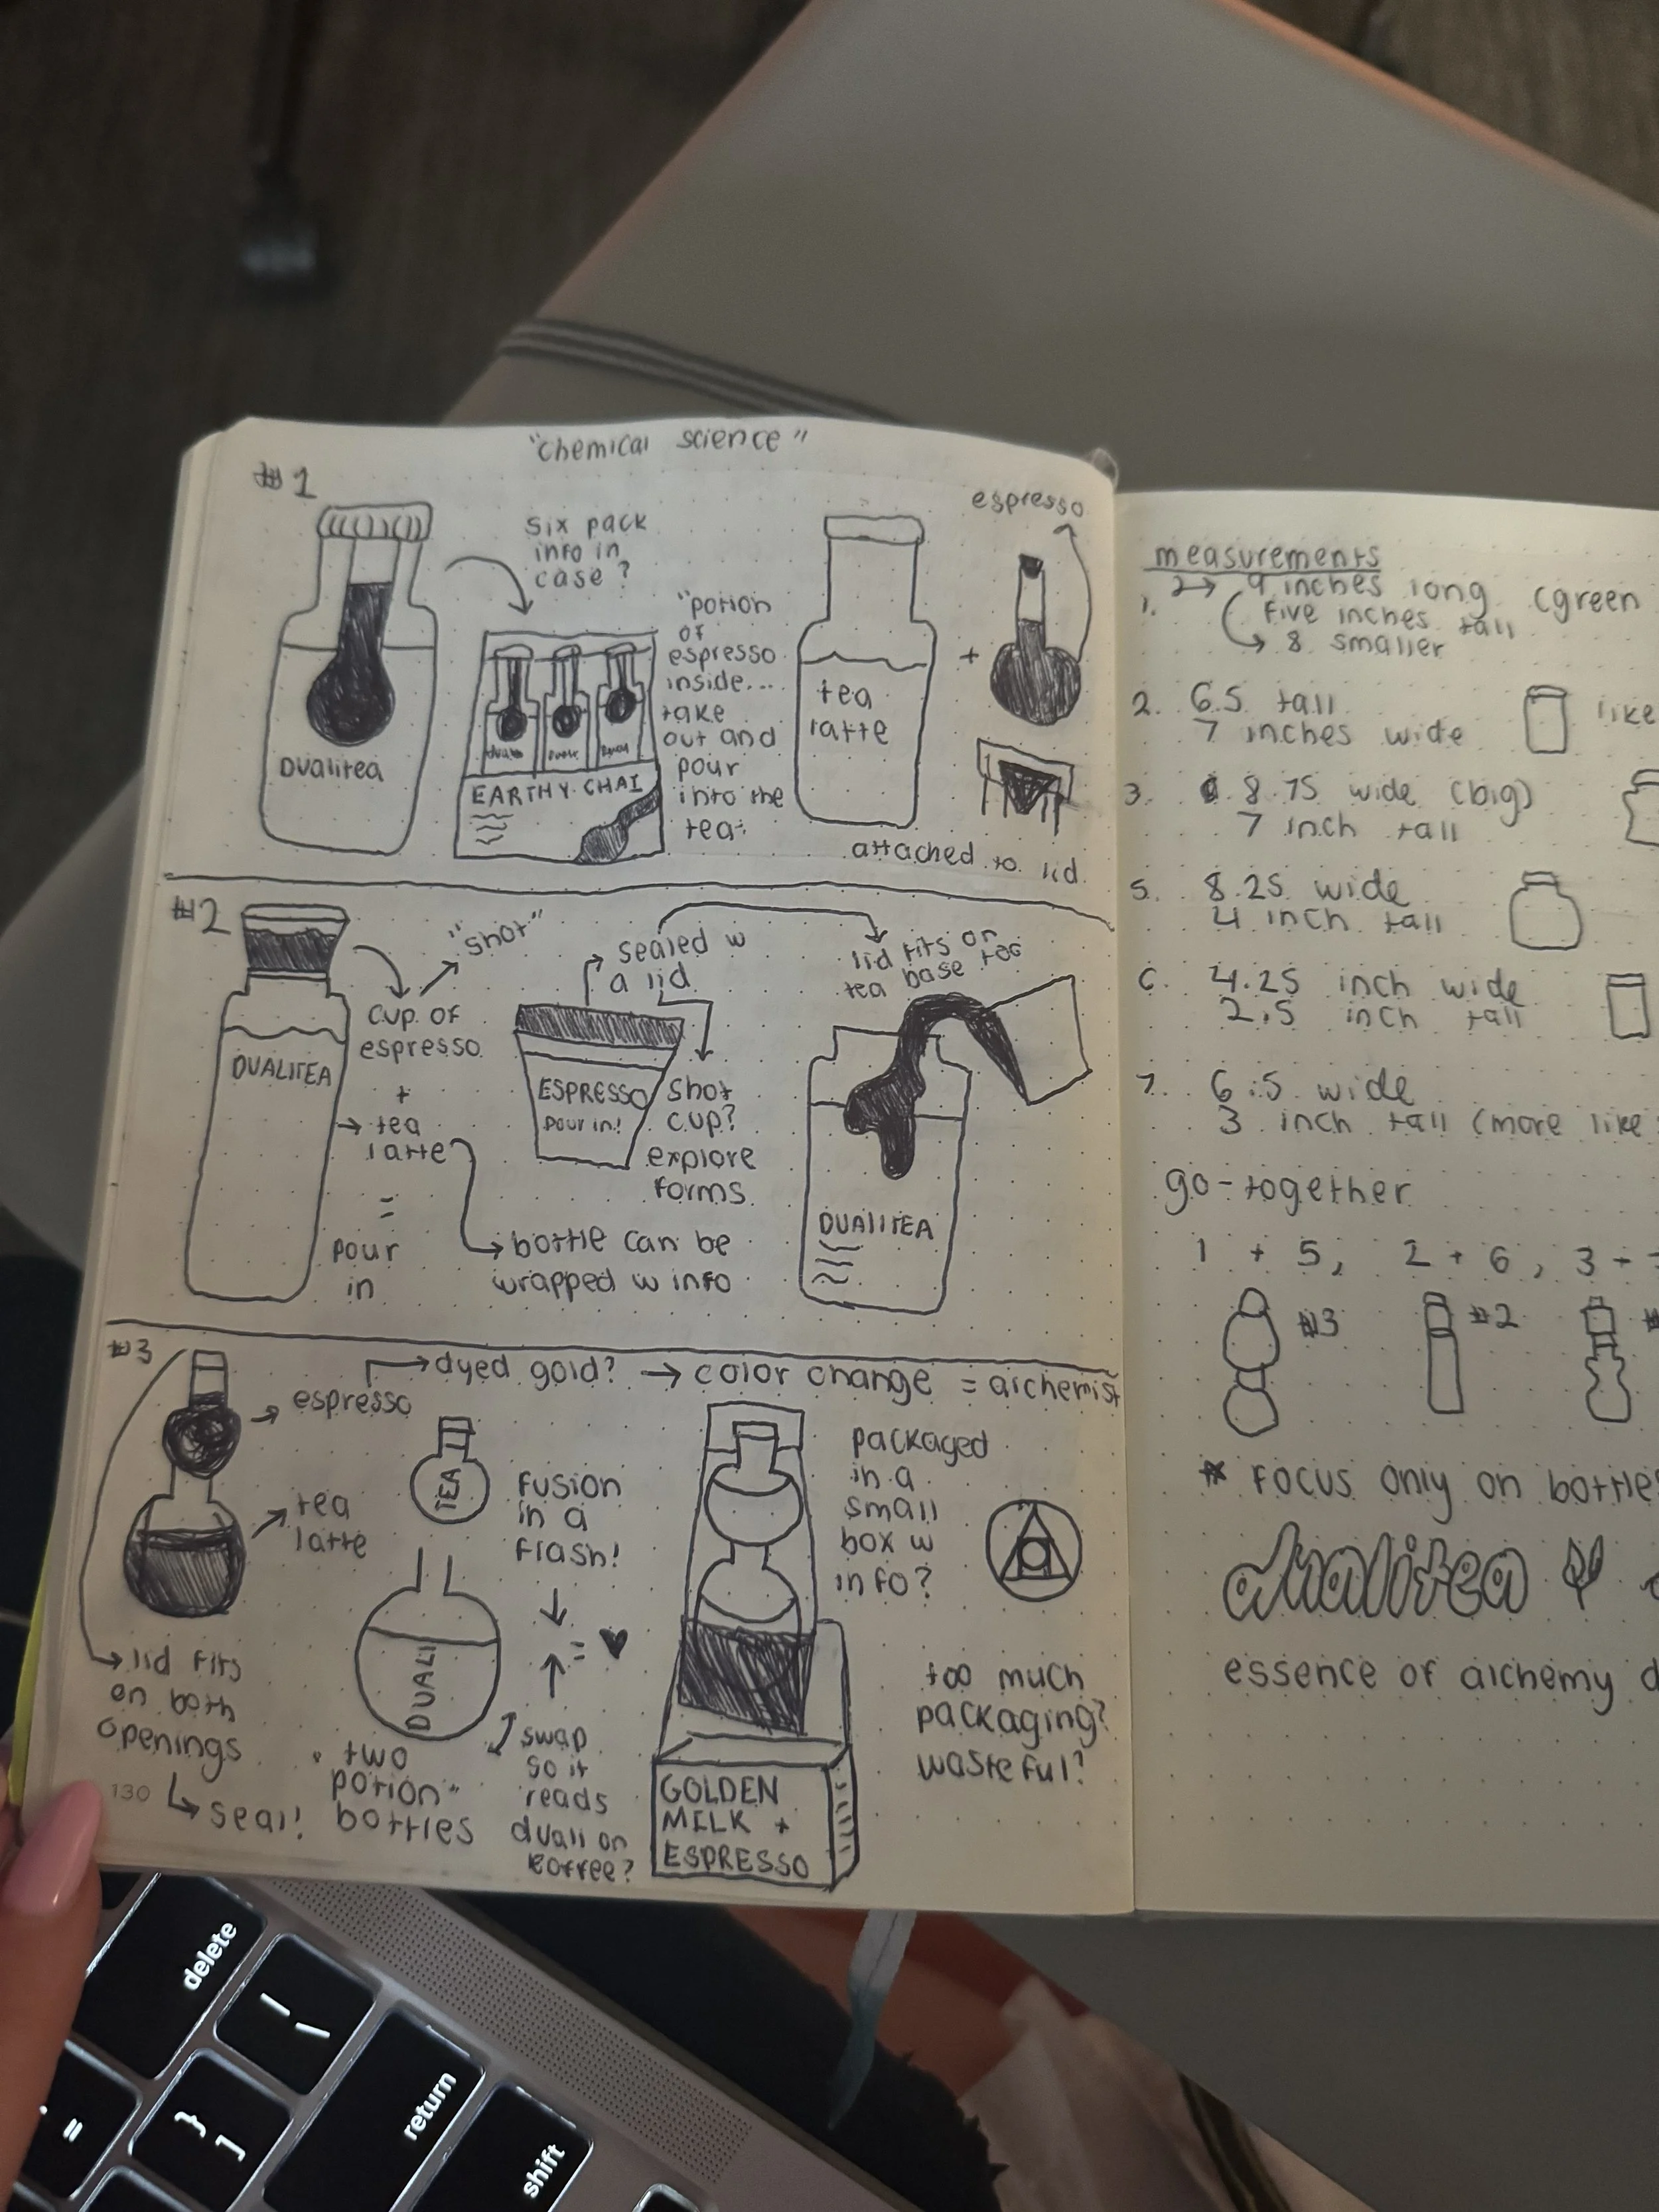
Research
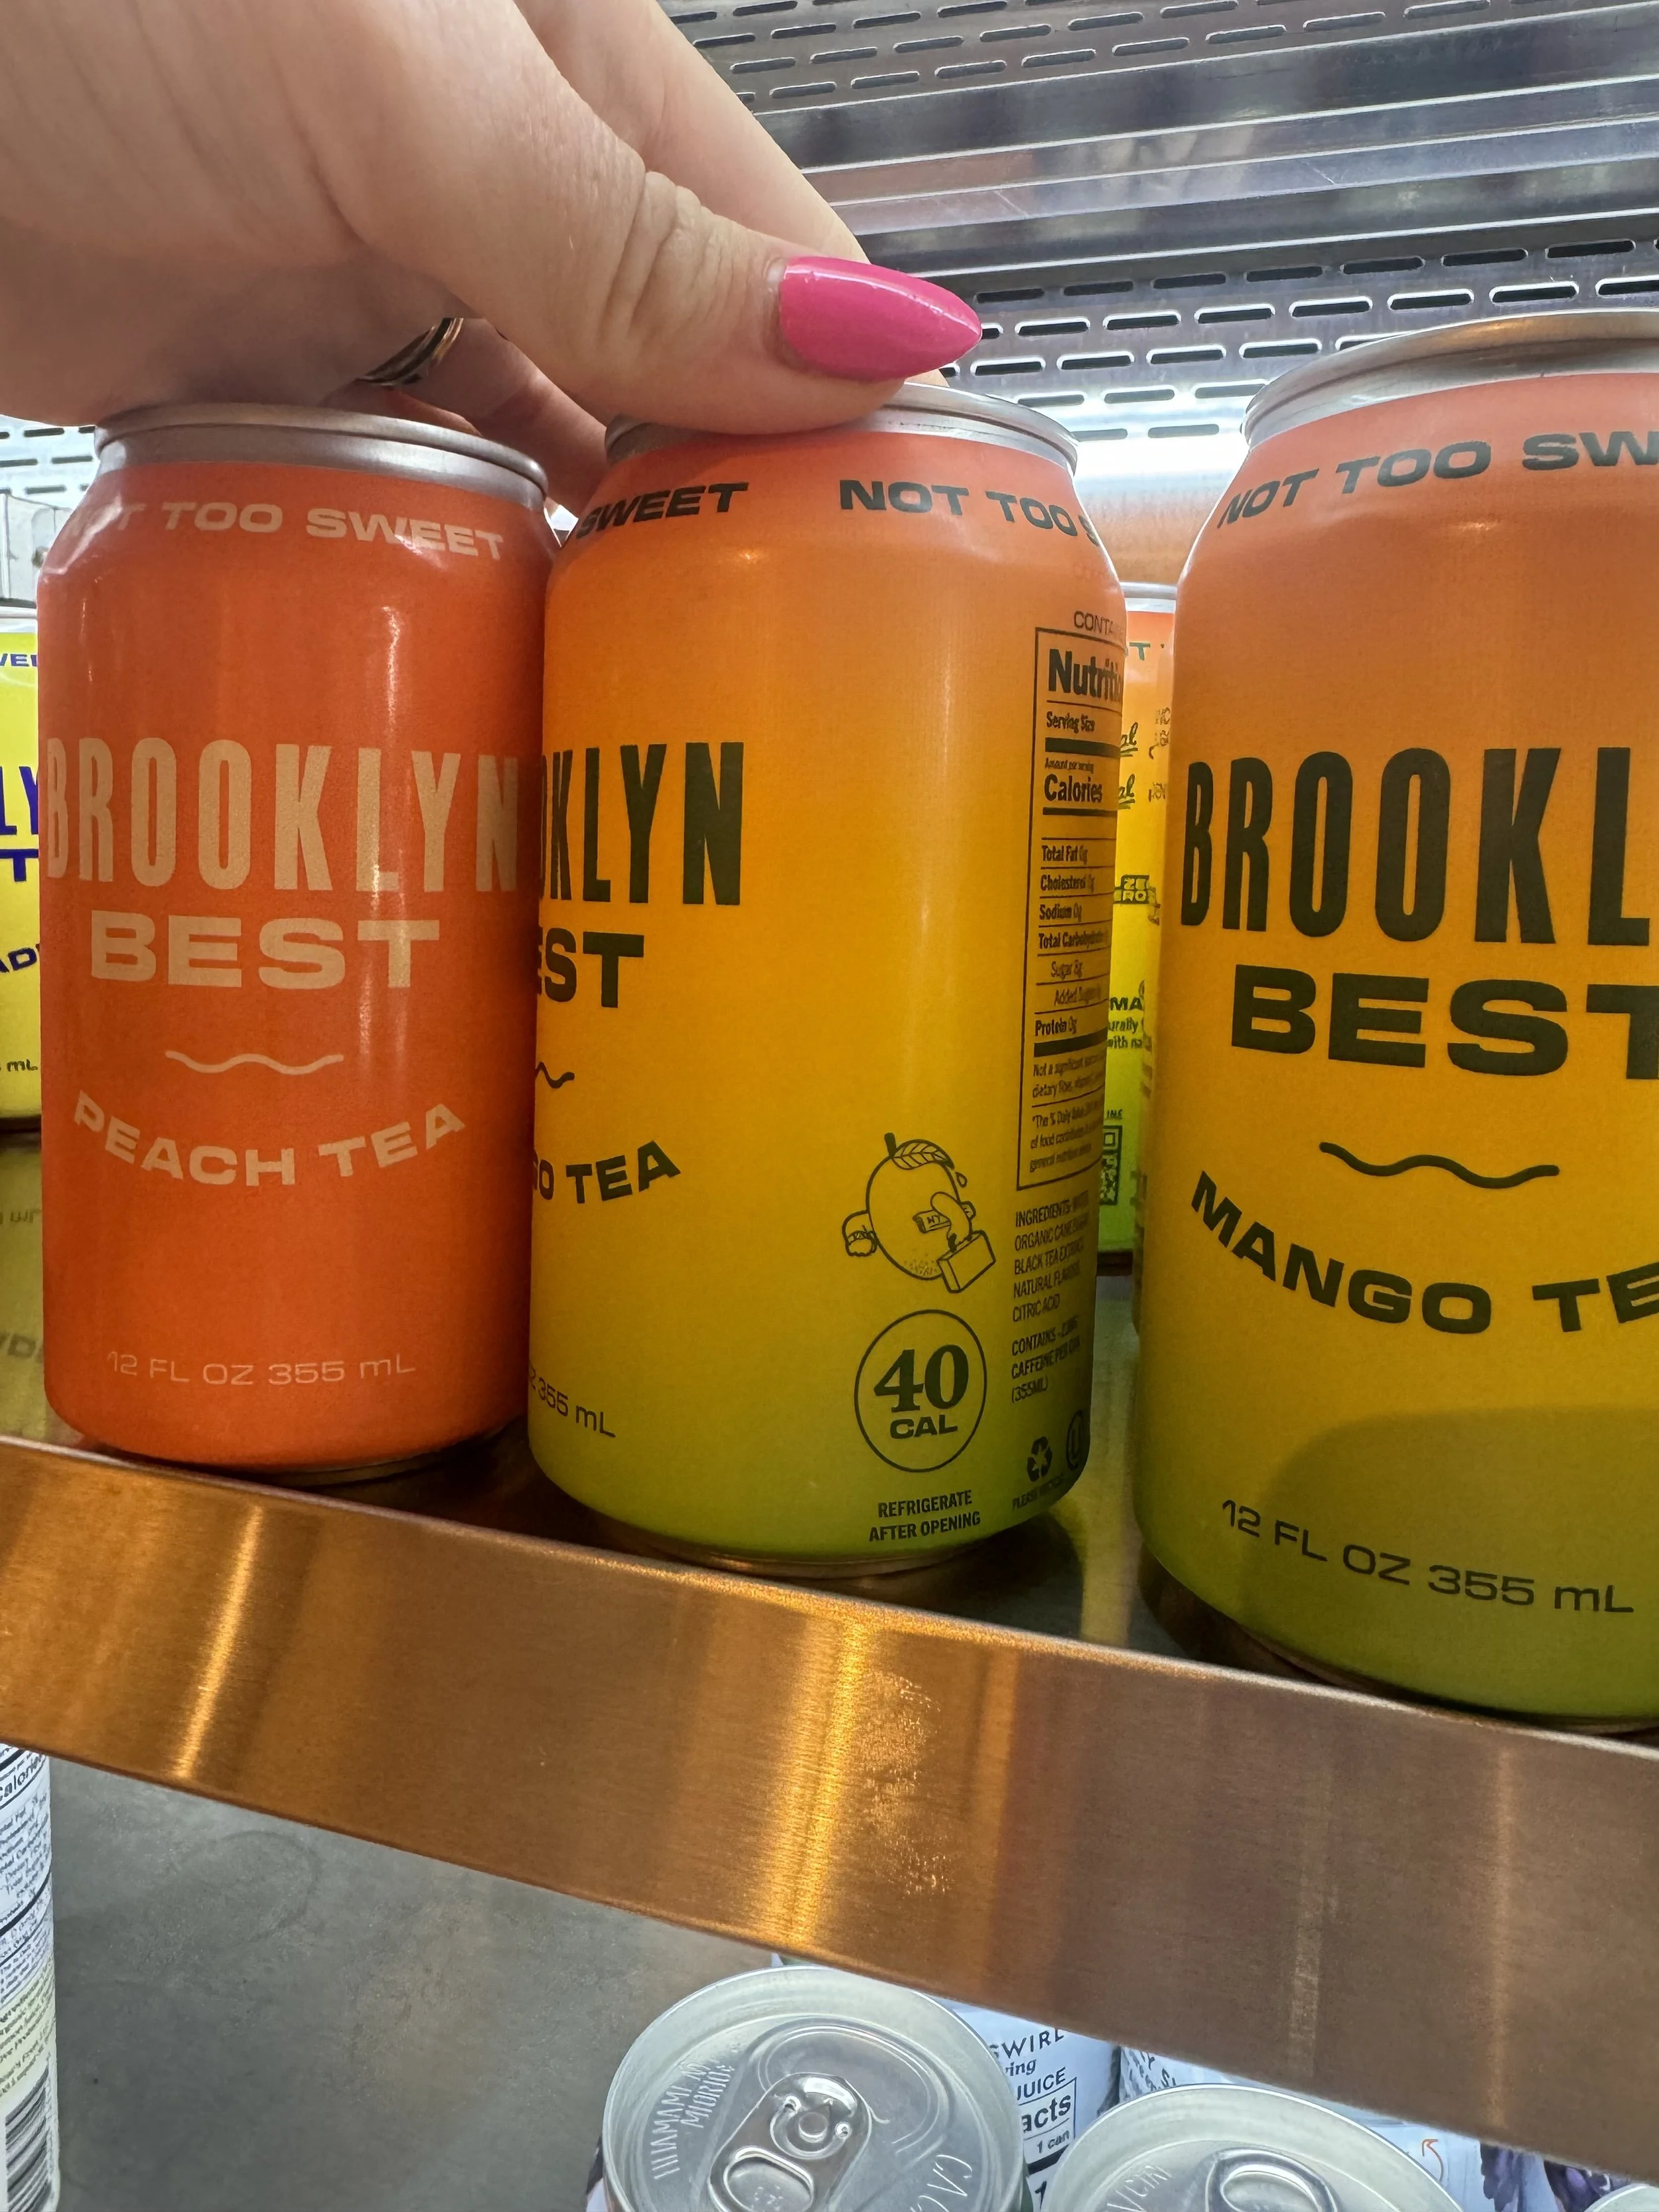
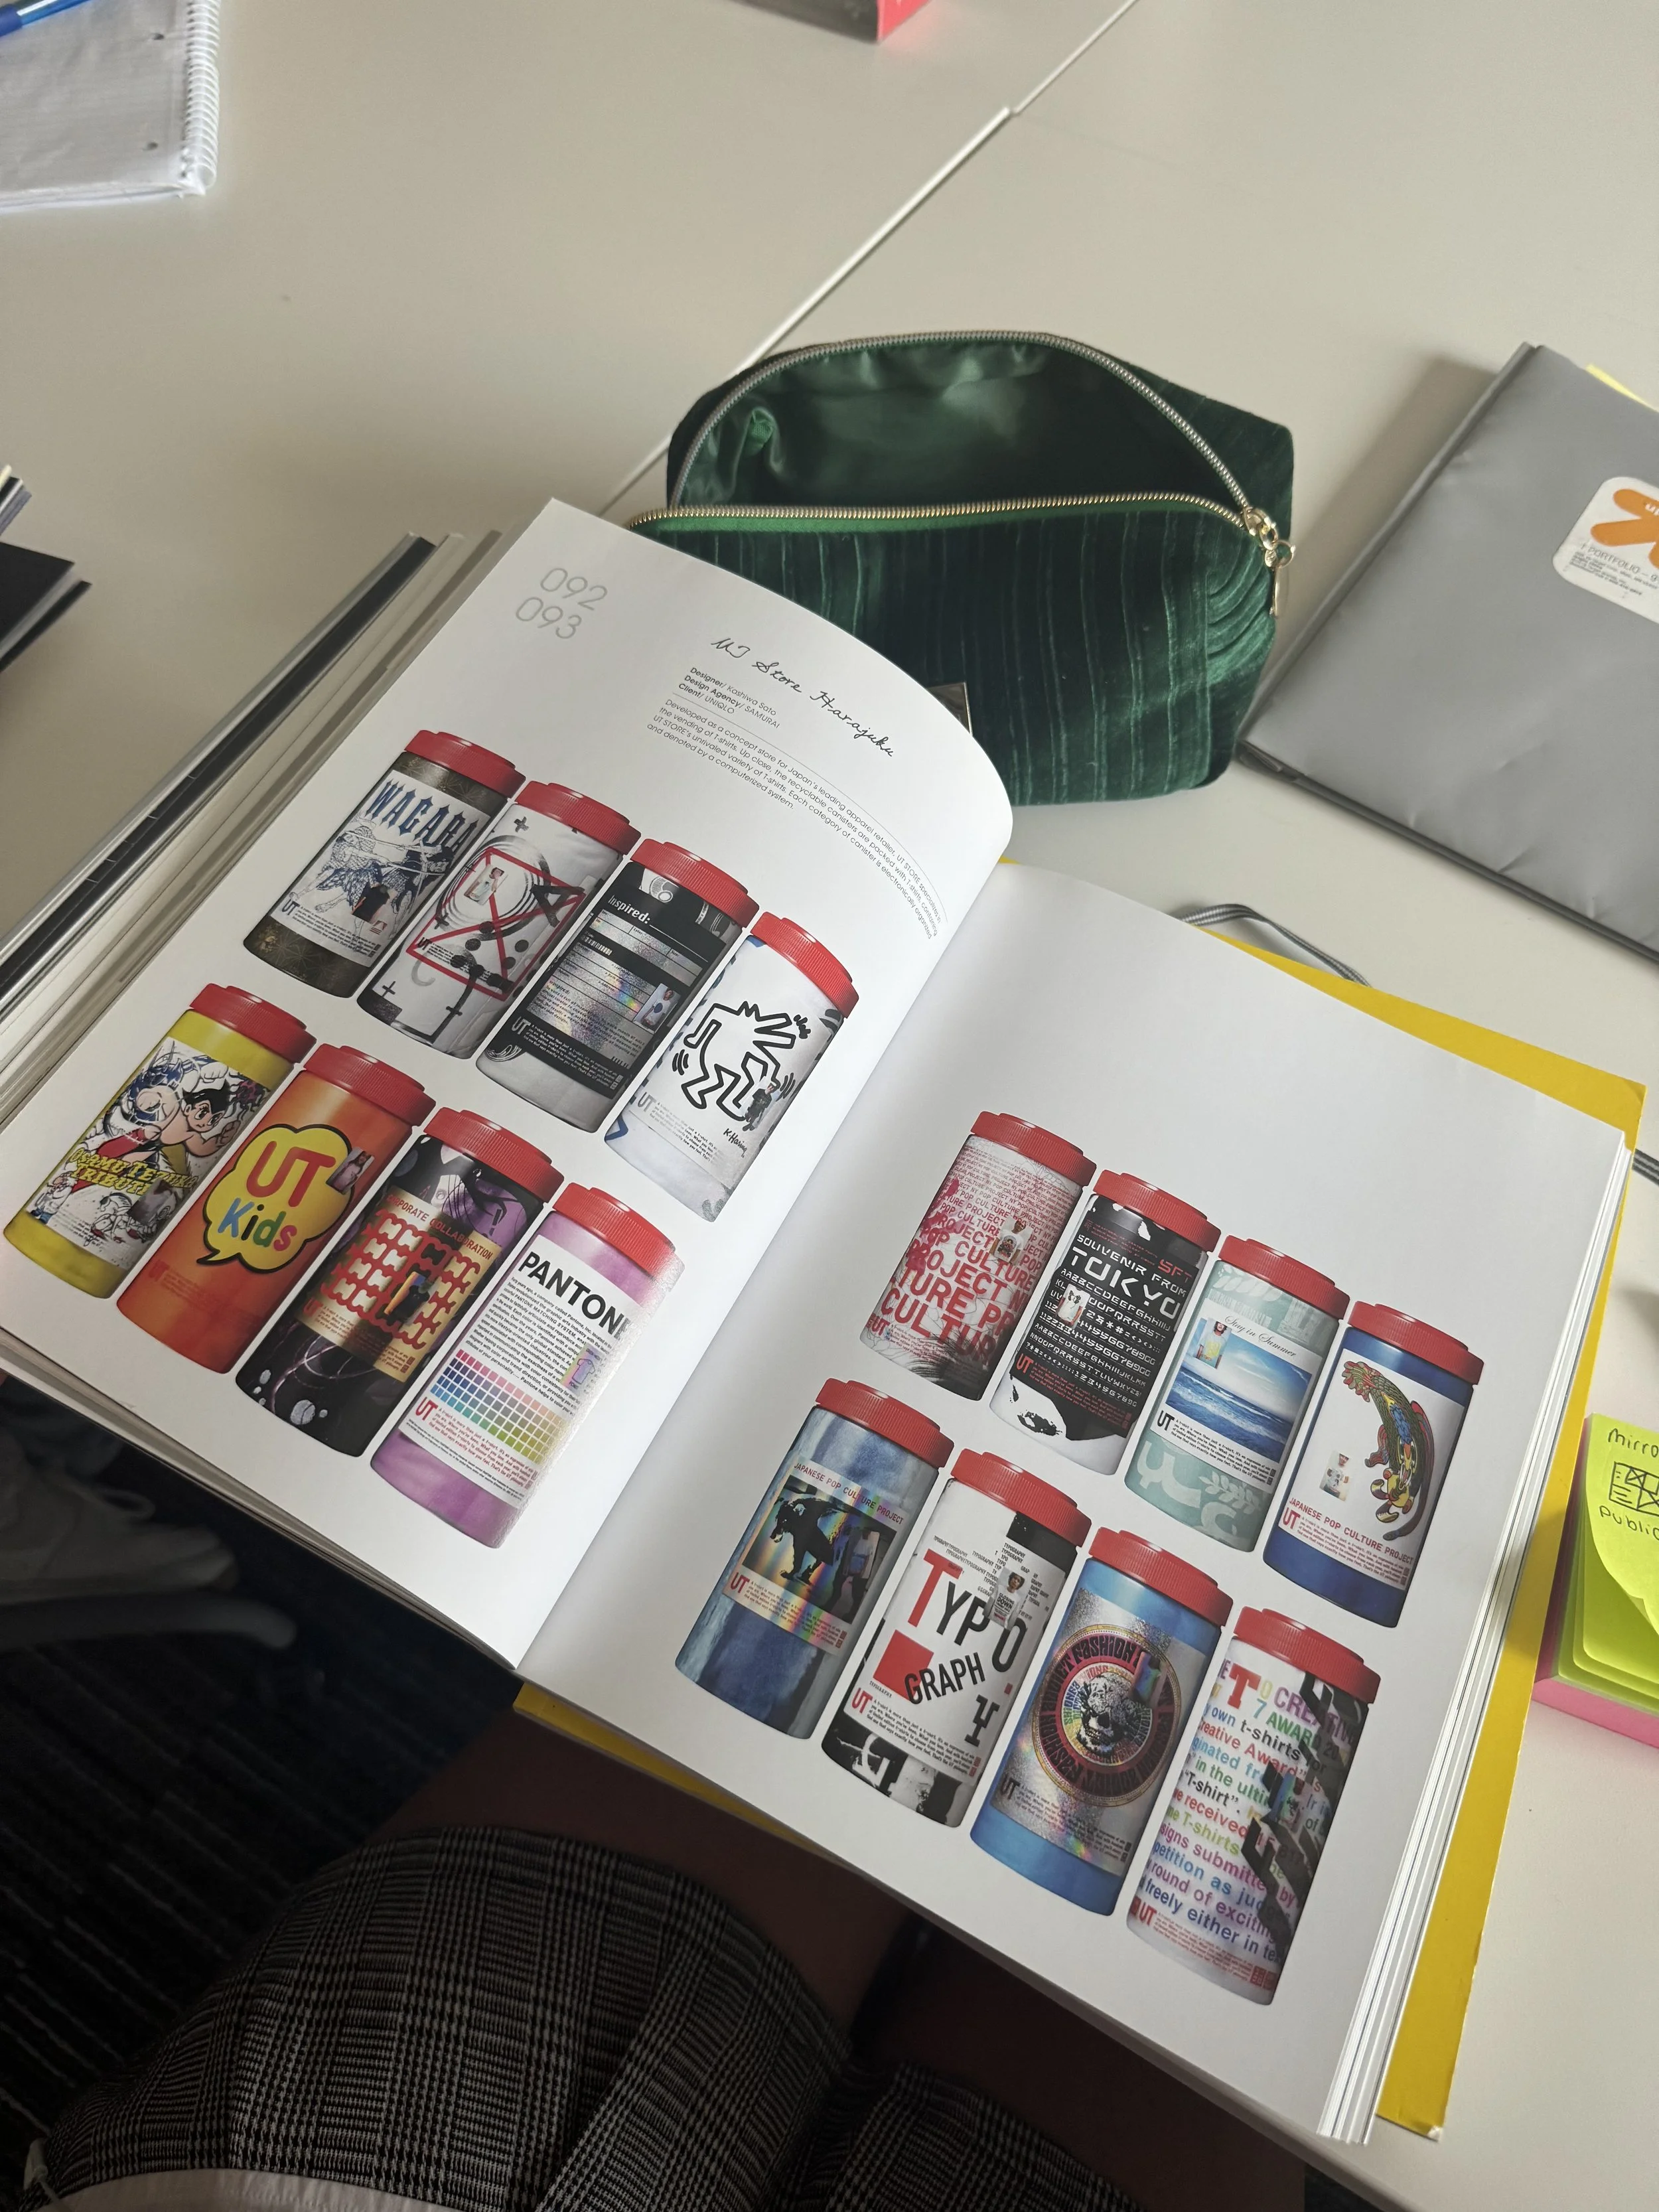
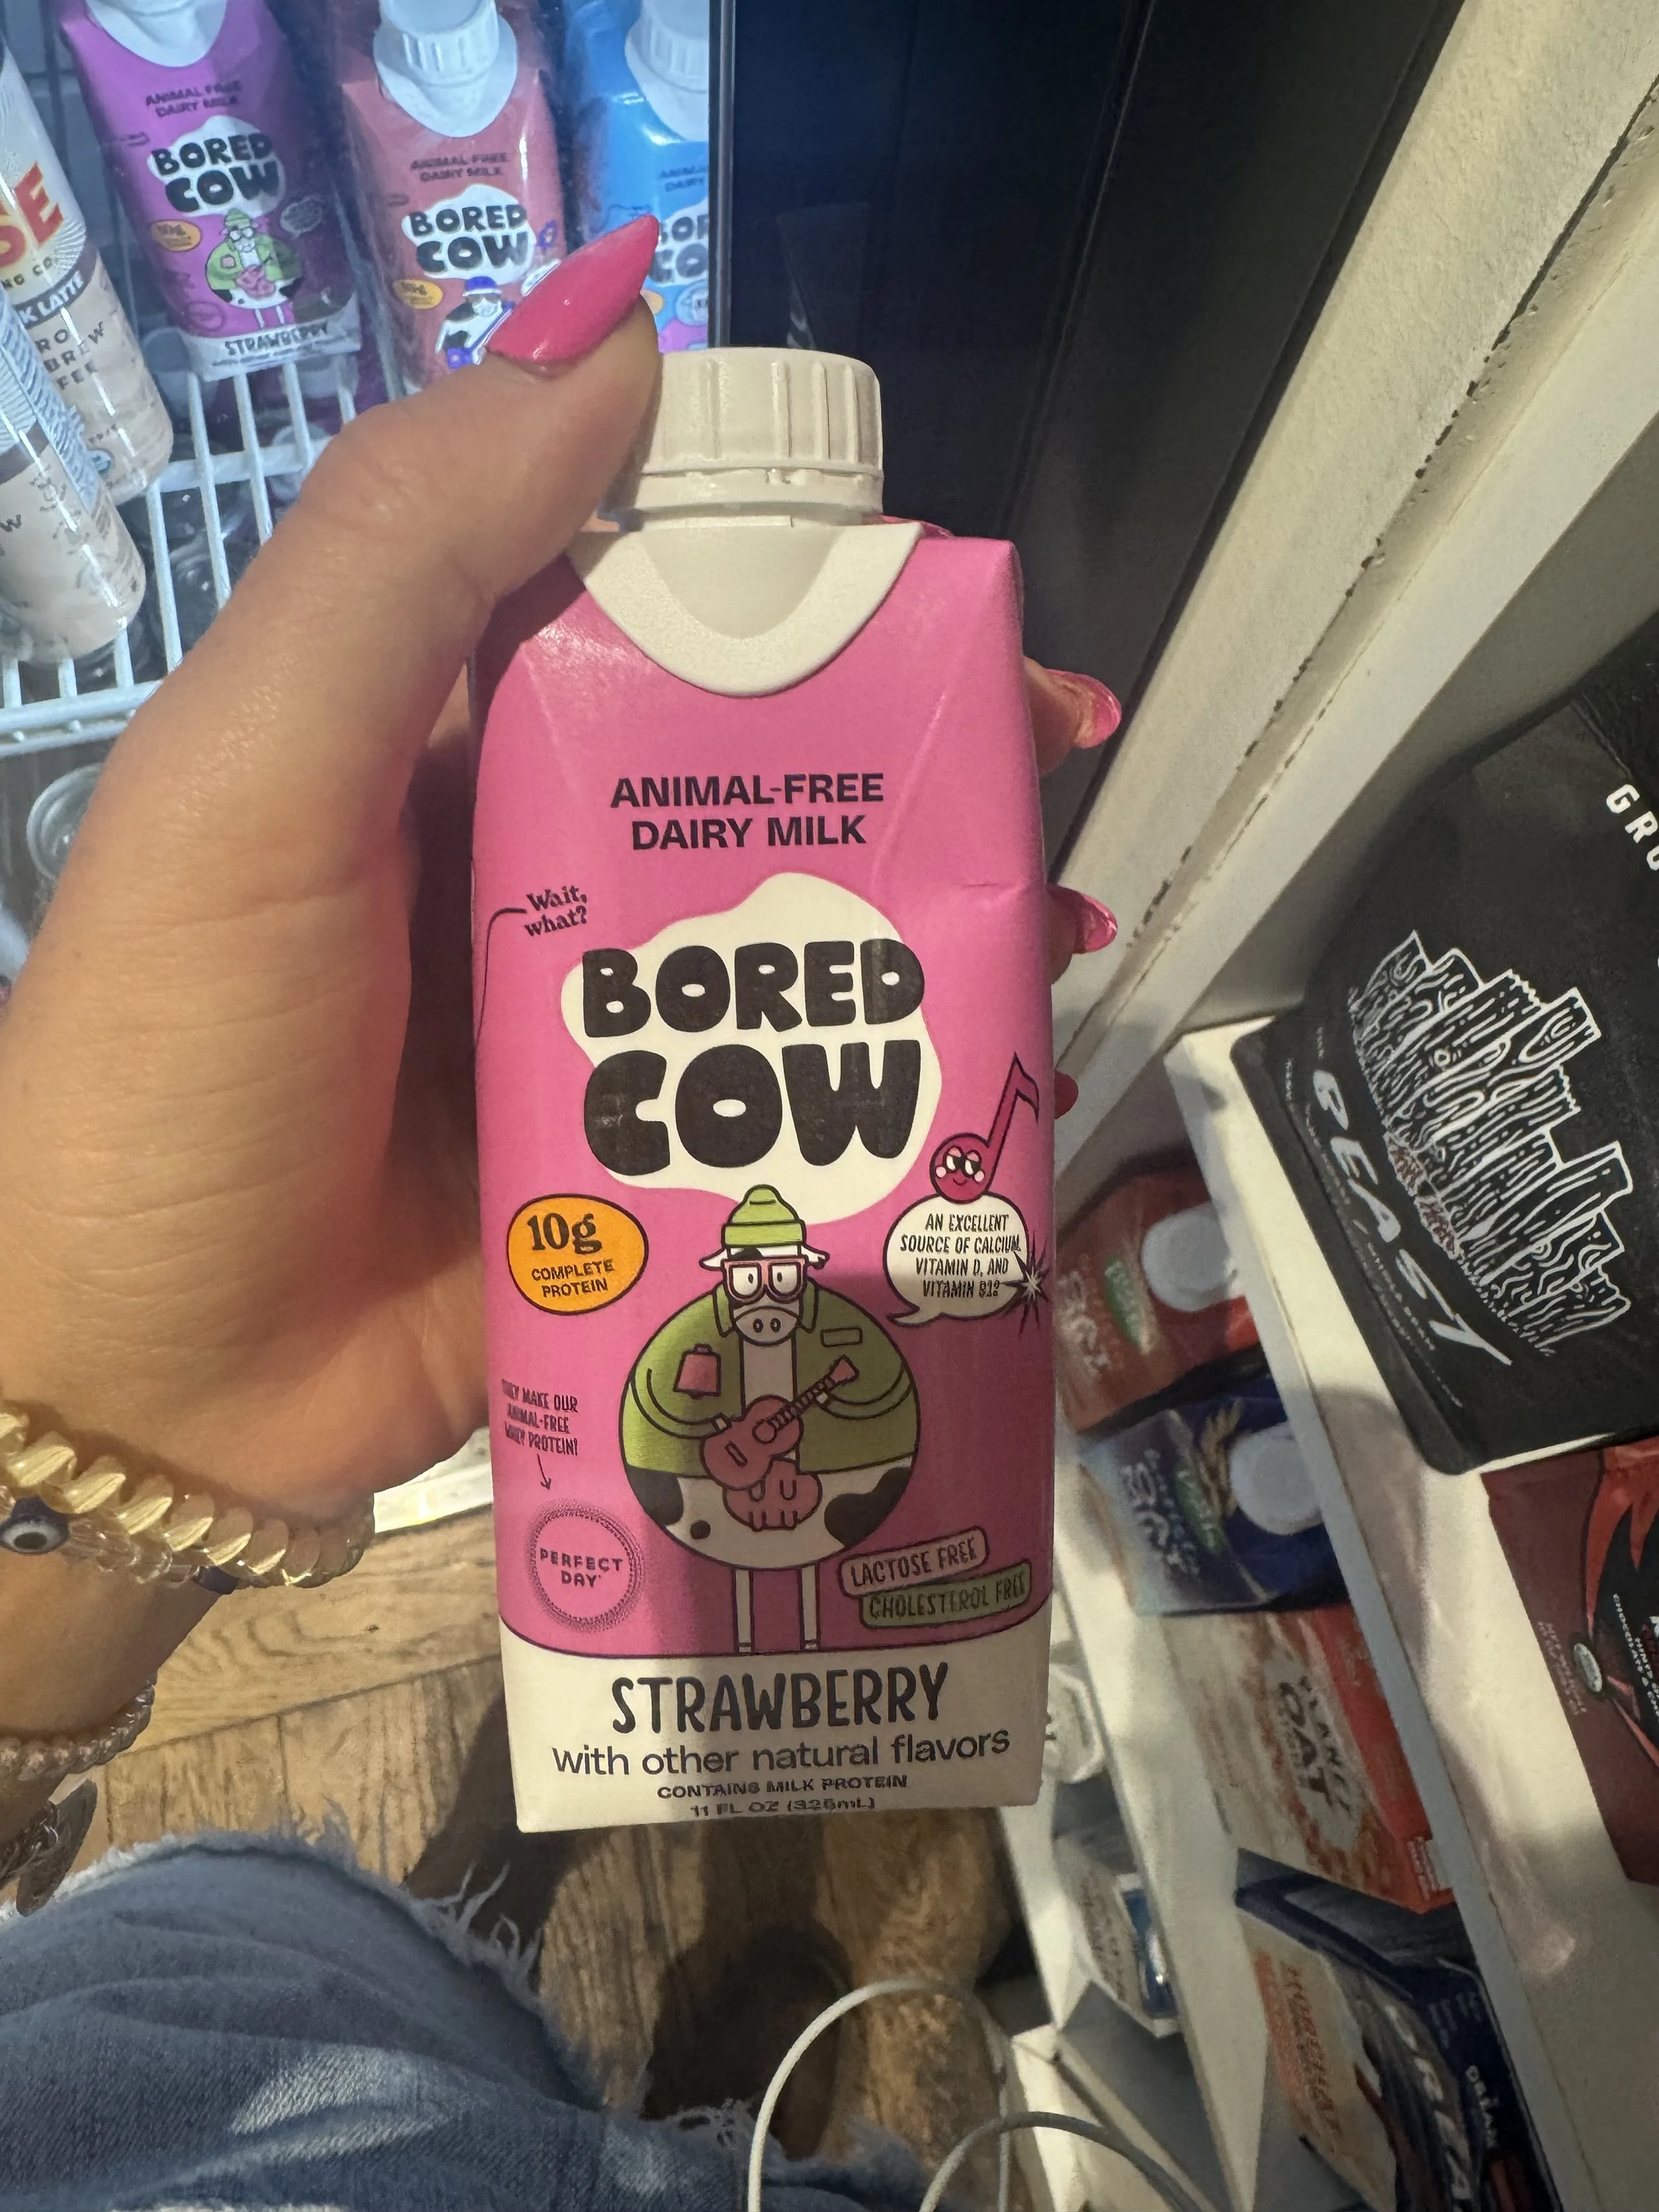
I start every project by diving deep into what it truly is. By uncovering the core "what," I can examine every word, every tiny detail, and pull out the elements that matter most, the ones that should drive the design. Heavy research is the foundation I build on, but it’s never a one-and-done step; I constantly revisit and refine it throughout the process. I love research. I dig relentlessly, exploring every angle and leaving no stone unturned. I also do a lot of in person research, constantly getting inspiration from the world around me. From my research, I am then able to make my initial findings, sketches, and ideas which will later morph into my projects.
Step Two
Step Two

Define
Once the research is locked in, I zero in on who I’m designing for and what I’m creating. That clarity sets the tone for everything. It’s the spark that brings my vision boards to life and starts to shape the overall vibe and feel of the design. Defining the audience is a key step into shaping my designs, by knowing who it is for, I know what they want, and make it for them.
Step Three
Step Three
Sample
Now that I know exactly who and what I’m designing for, it’s time to get messy (in the best way). I jump into digital prototypes, tossing out rough ideas and letting the creativity fly. Using the 100:10:1 method, I crank out tons of sketches, then start trimming the excess — narrowing it down, sharpening the vision, and getting ready to bring the best ideas into the real world.
Step Four
Step Four
Step Five
Step Five
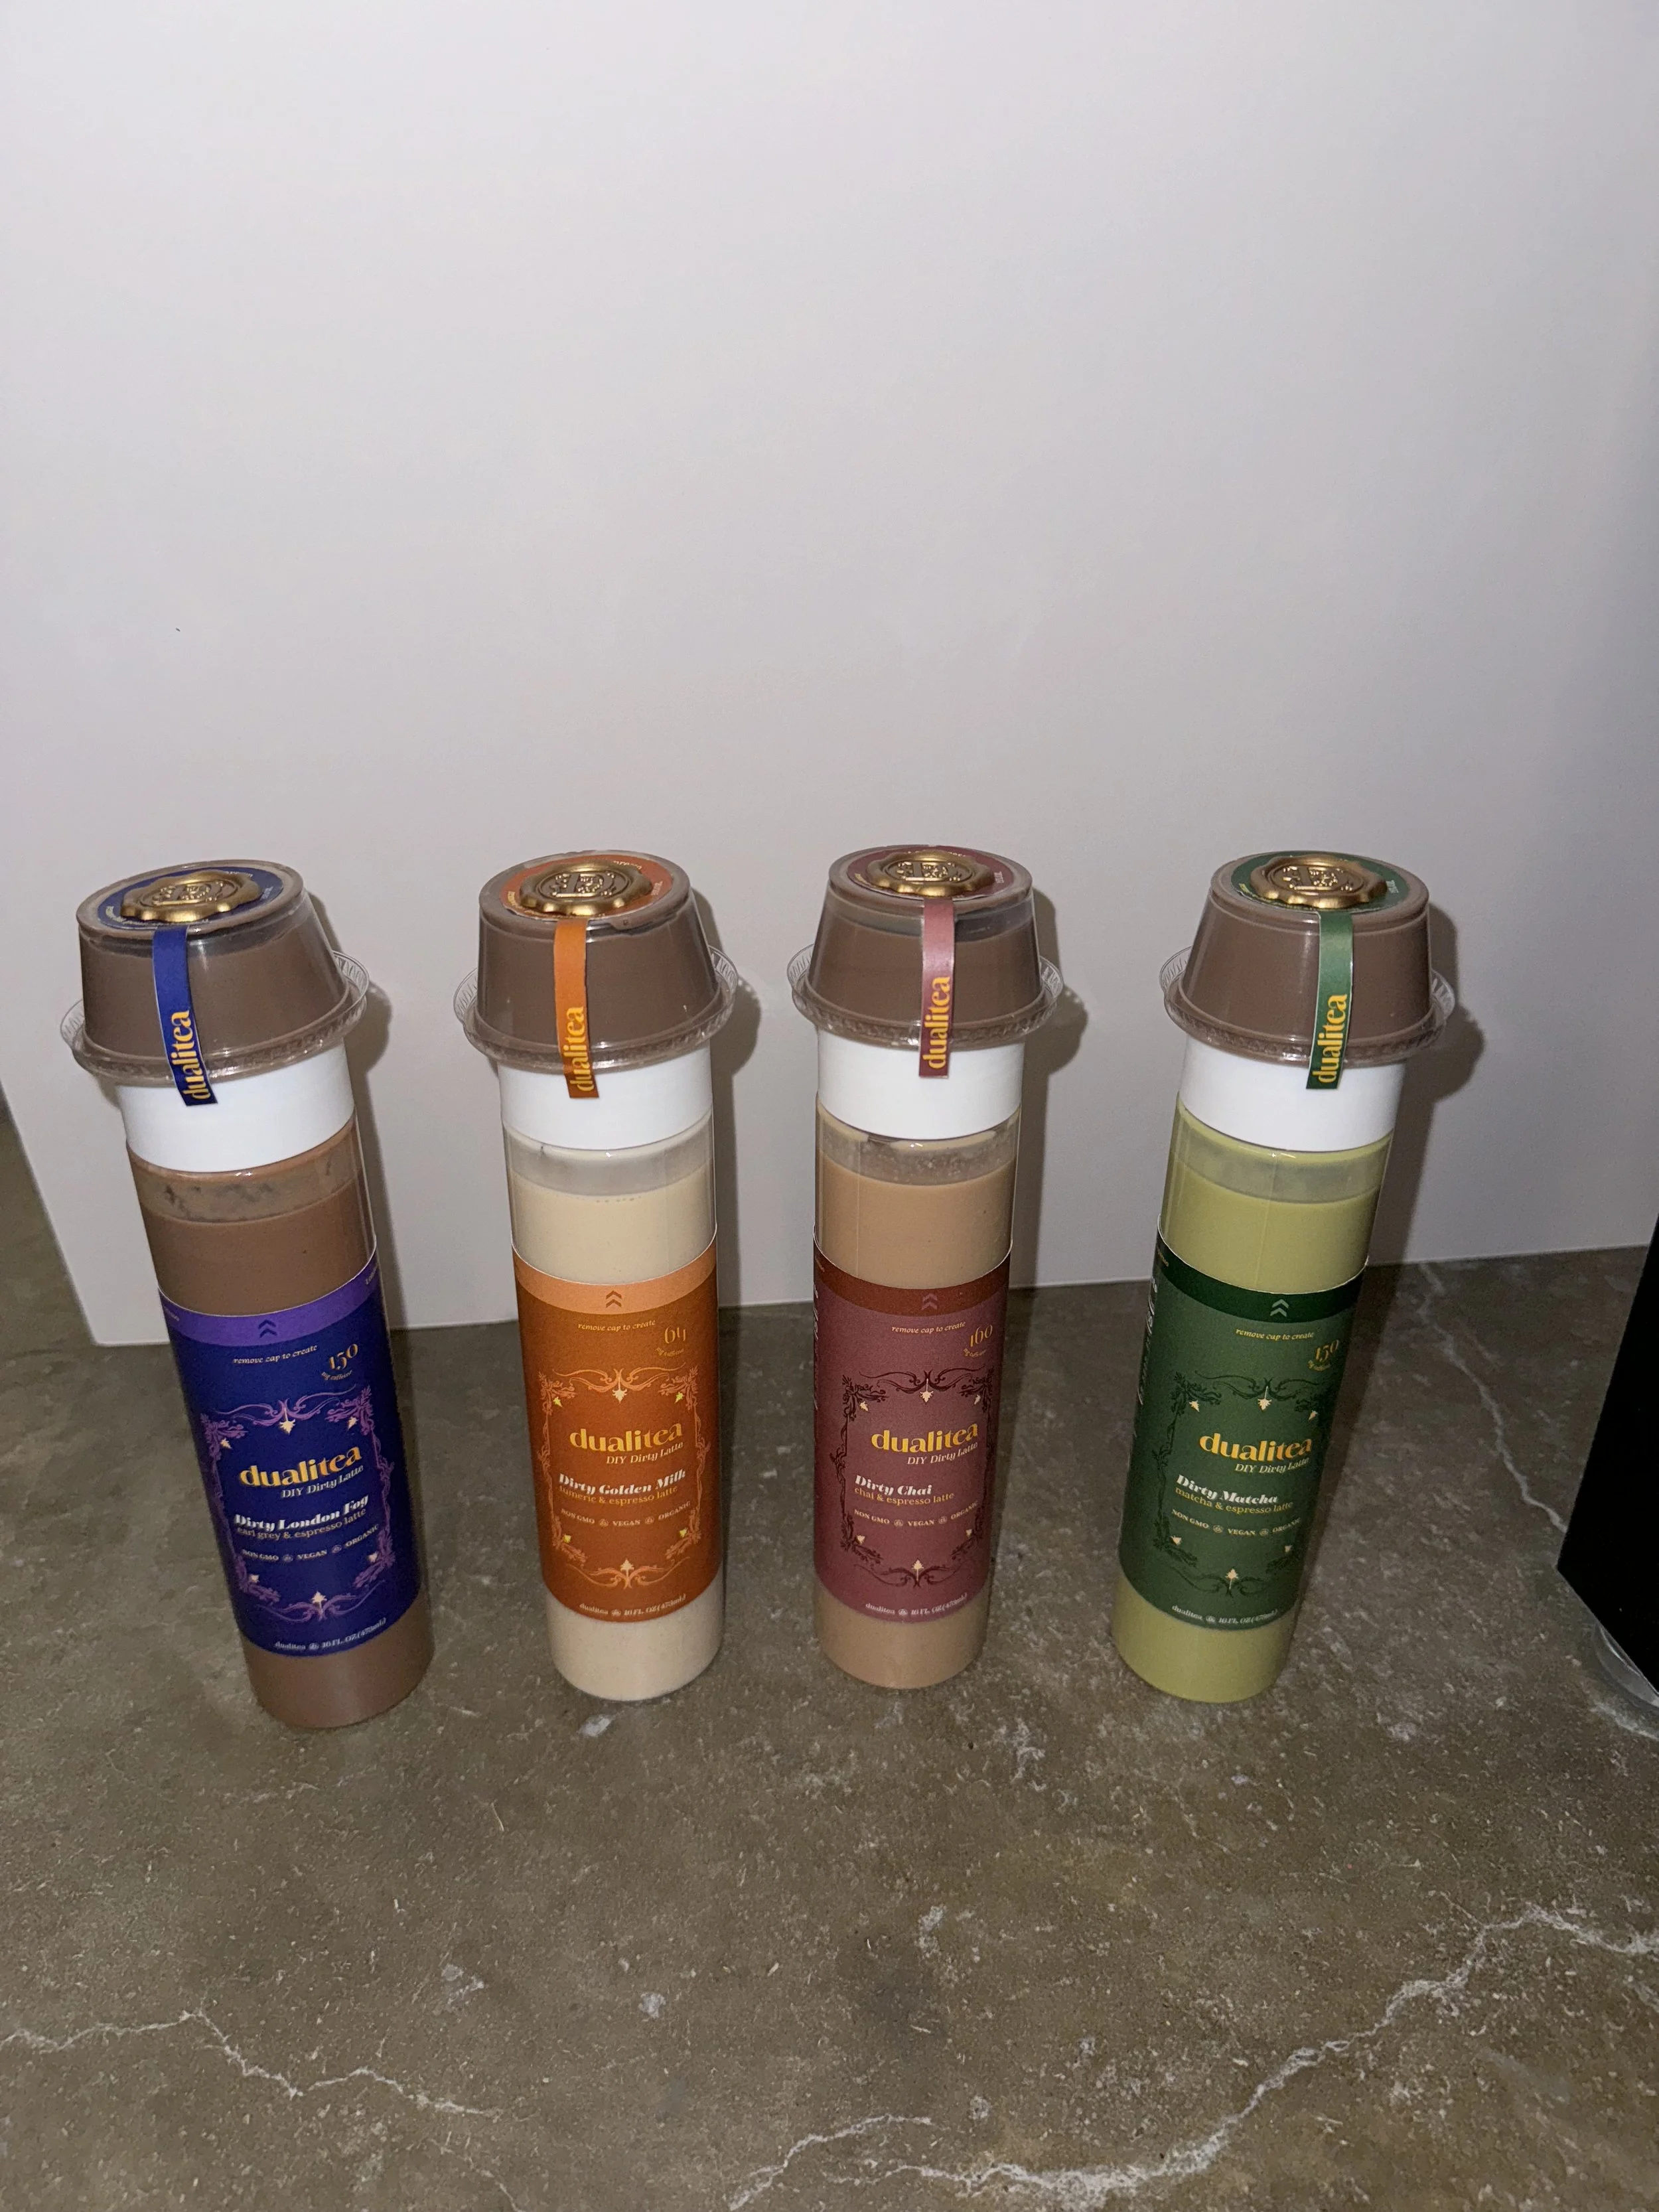
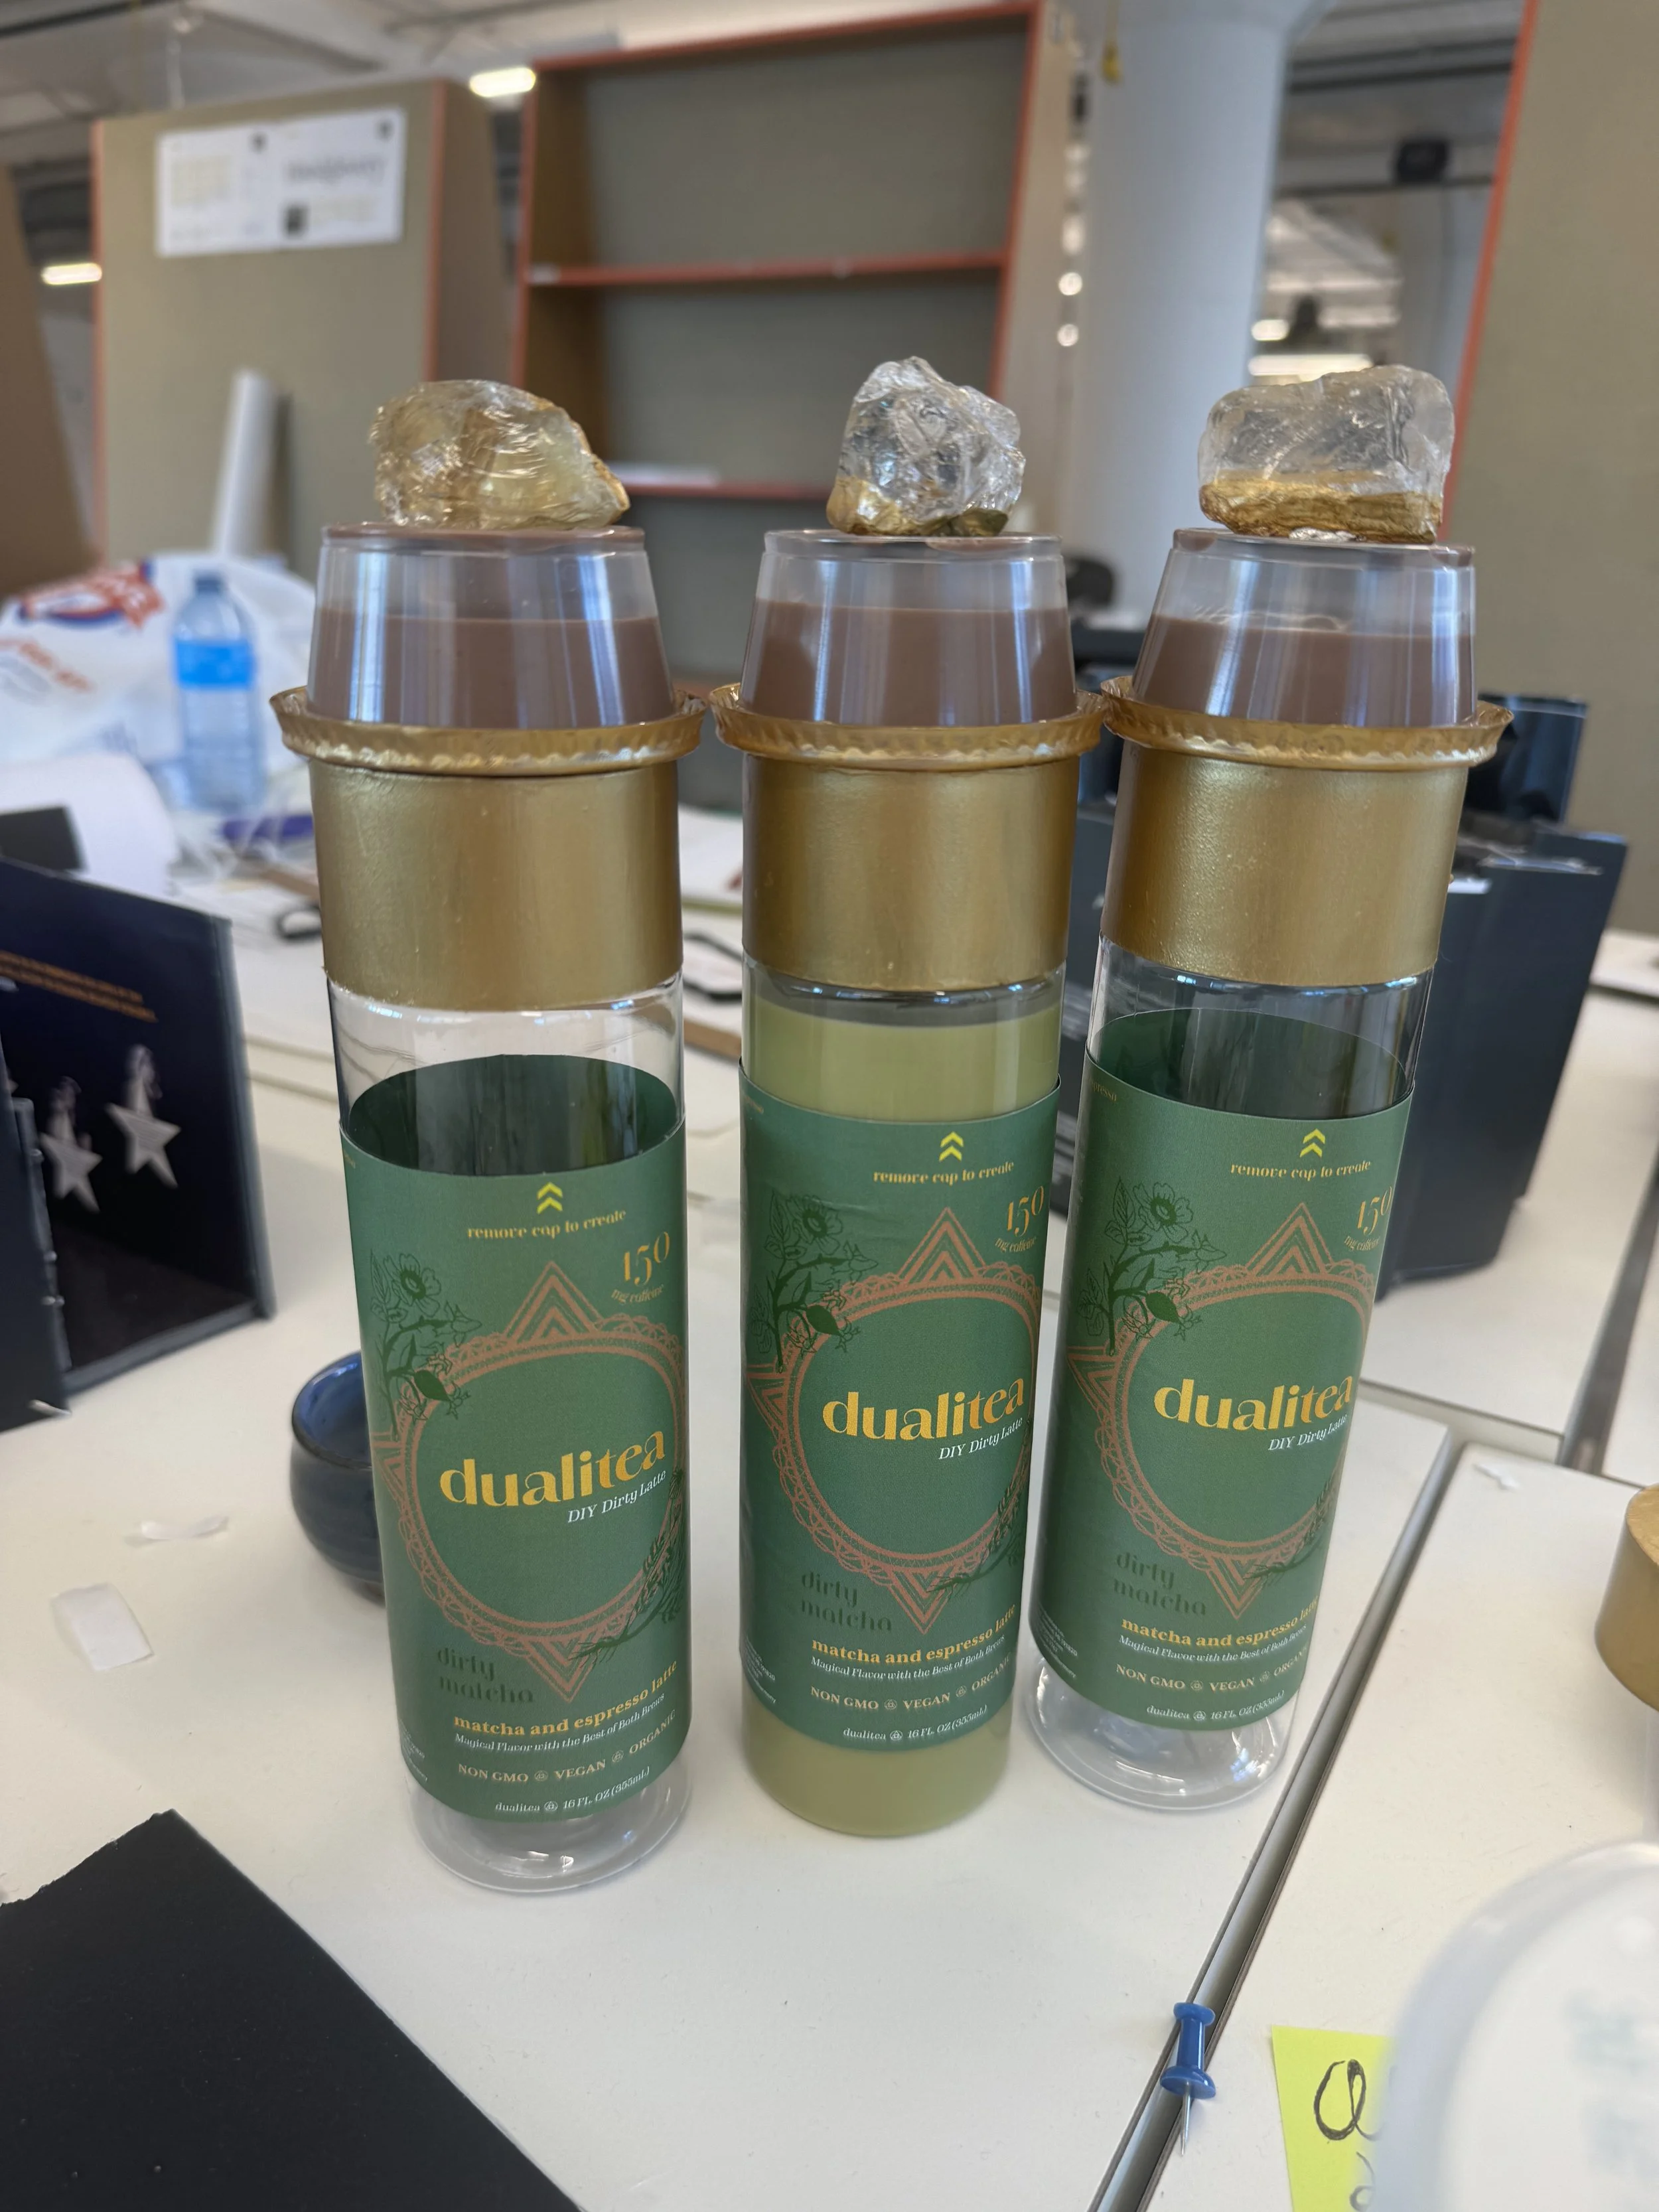
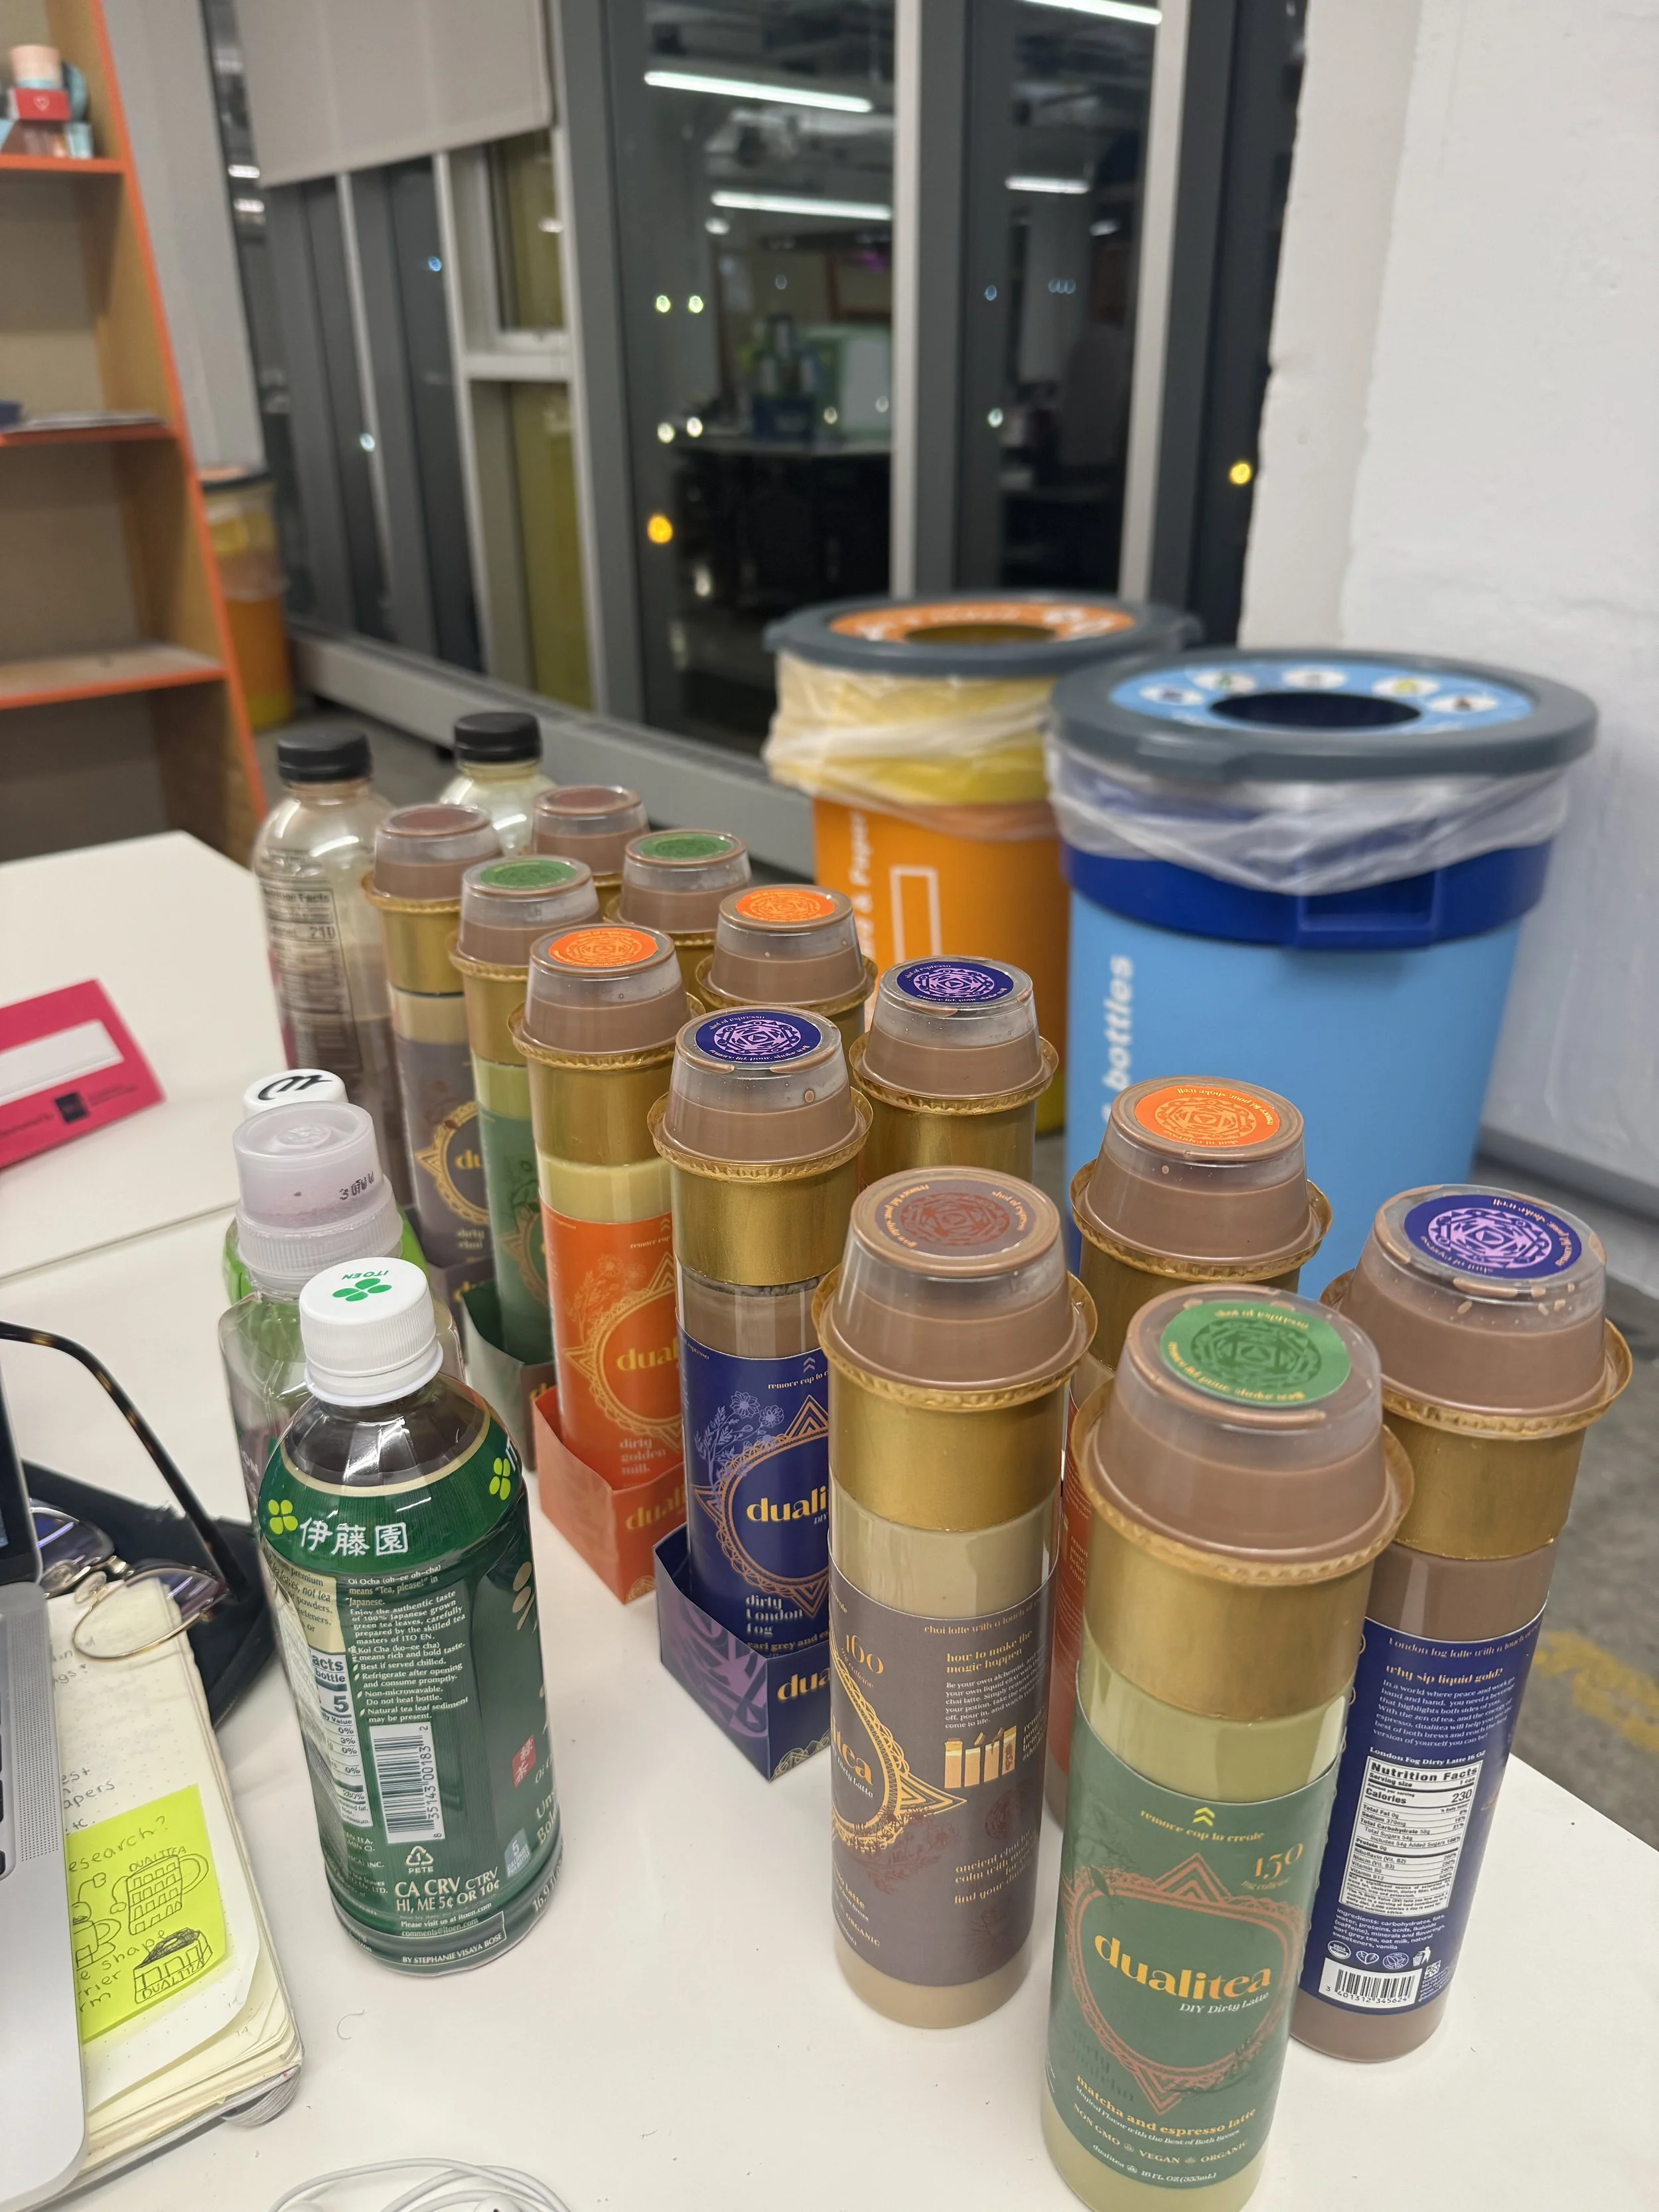
Build
Once I’ve locked in some solid roughs, it’s time to bring them to life. I build them out physically, keeping a close eye on how colors shift from screen to print, because what looks great on my laptop might tell a different story in real life. I have learned from past mistakes. For UX/UI or digital projects, I test everything on actual websites and phone screens, making sure the placement feels right and works the way it’s supposed to, no surprises.
Step Six
Step Six
Revision
This is hands down the most important part of my process: revision. I never really see my work as “finished”, I’m always learning, always spotting new ways to make it better. During this stage, I share my work with other designers, gather feedback, and figure out what’s clicking and what’s falling flat. I’m not afraid to scrap a project and start fresh if it’s not up to par, in fact, I see it as one of my biggest strengths. If it’s not working, I’ll tear it down and rebuild it better. And I’m never one to back down from a challenge.

Create
If my revisions feel solid, I move on to what I call my “final”, though honestly, I believe no project is ever truly finished (there’s always room to tweak and improve). At this point, I take a step back and look at the whole project, checking it against my original research, brand, and style guides to make sure the look and message stay consistent. Sometimes, if it’s not hitting the way I want, I’ll circle all the way back and start fresh but usually, after weeks of experimenting and fine-tuning, I’ve landed on something that really sticks.